 区块链技术网
02.slither基本使用
02.slither基本使用
1. 常用命令参数
常用选项
# 查看检测器数量
slither --list-detectors

# 查看可用的打印方式
slither --list-printers

# 生成dot文件,可用sublime的graphvizer打开图片
slither aa.sol --print inheritance-graph
审计单个文件
slither ../aa.sol
slither aa.sol &> aa.txt

# 分析的链上的地址。https://etherscan.io/address/0x7F37f78cBD74481E593F9C737776F7113d76B315#code
slither 0x7F37f78cBD74481E593F9C737776F7113d76B315
2.打印选项的使用
Slither 带有一组内置的打印模块,可以显示有关合约的高级信息。目前支持19个打印模块,支持的列表如下,具体使用可以参考下面链接。
cfg, constructor-calls, contract-summary, data-dependency, echidna, function-id, function-summary, modifiers, call-graph, evm, human-summary, inheritance, inheritance-graph, slithir, slithir-ssa, pausable, vars-and-auth, require,
variable-order
https://github.com/crytic/slither/wiki/Printer-documentation
这里使用7个基本的打印模块进行演示。
- 合约摘要 contract-summary
- 函数摘要 function-summary
- 继承图 inheritance-graph
- 变量与验证vars-and-auth
- 查看调用关系图 call-graph
- 函数id function-id
- 状态变量存储 variable-order
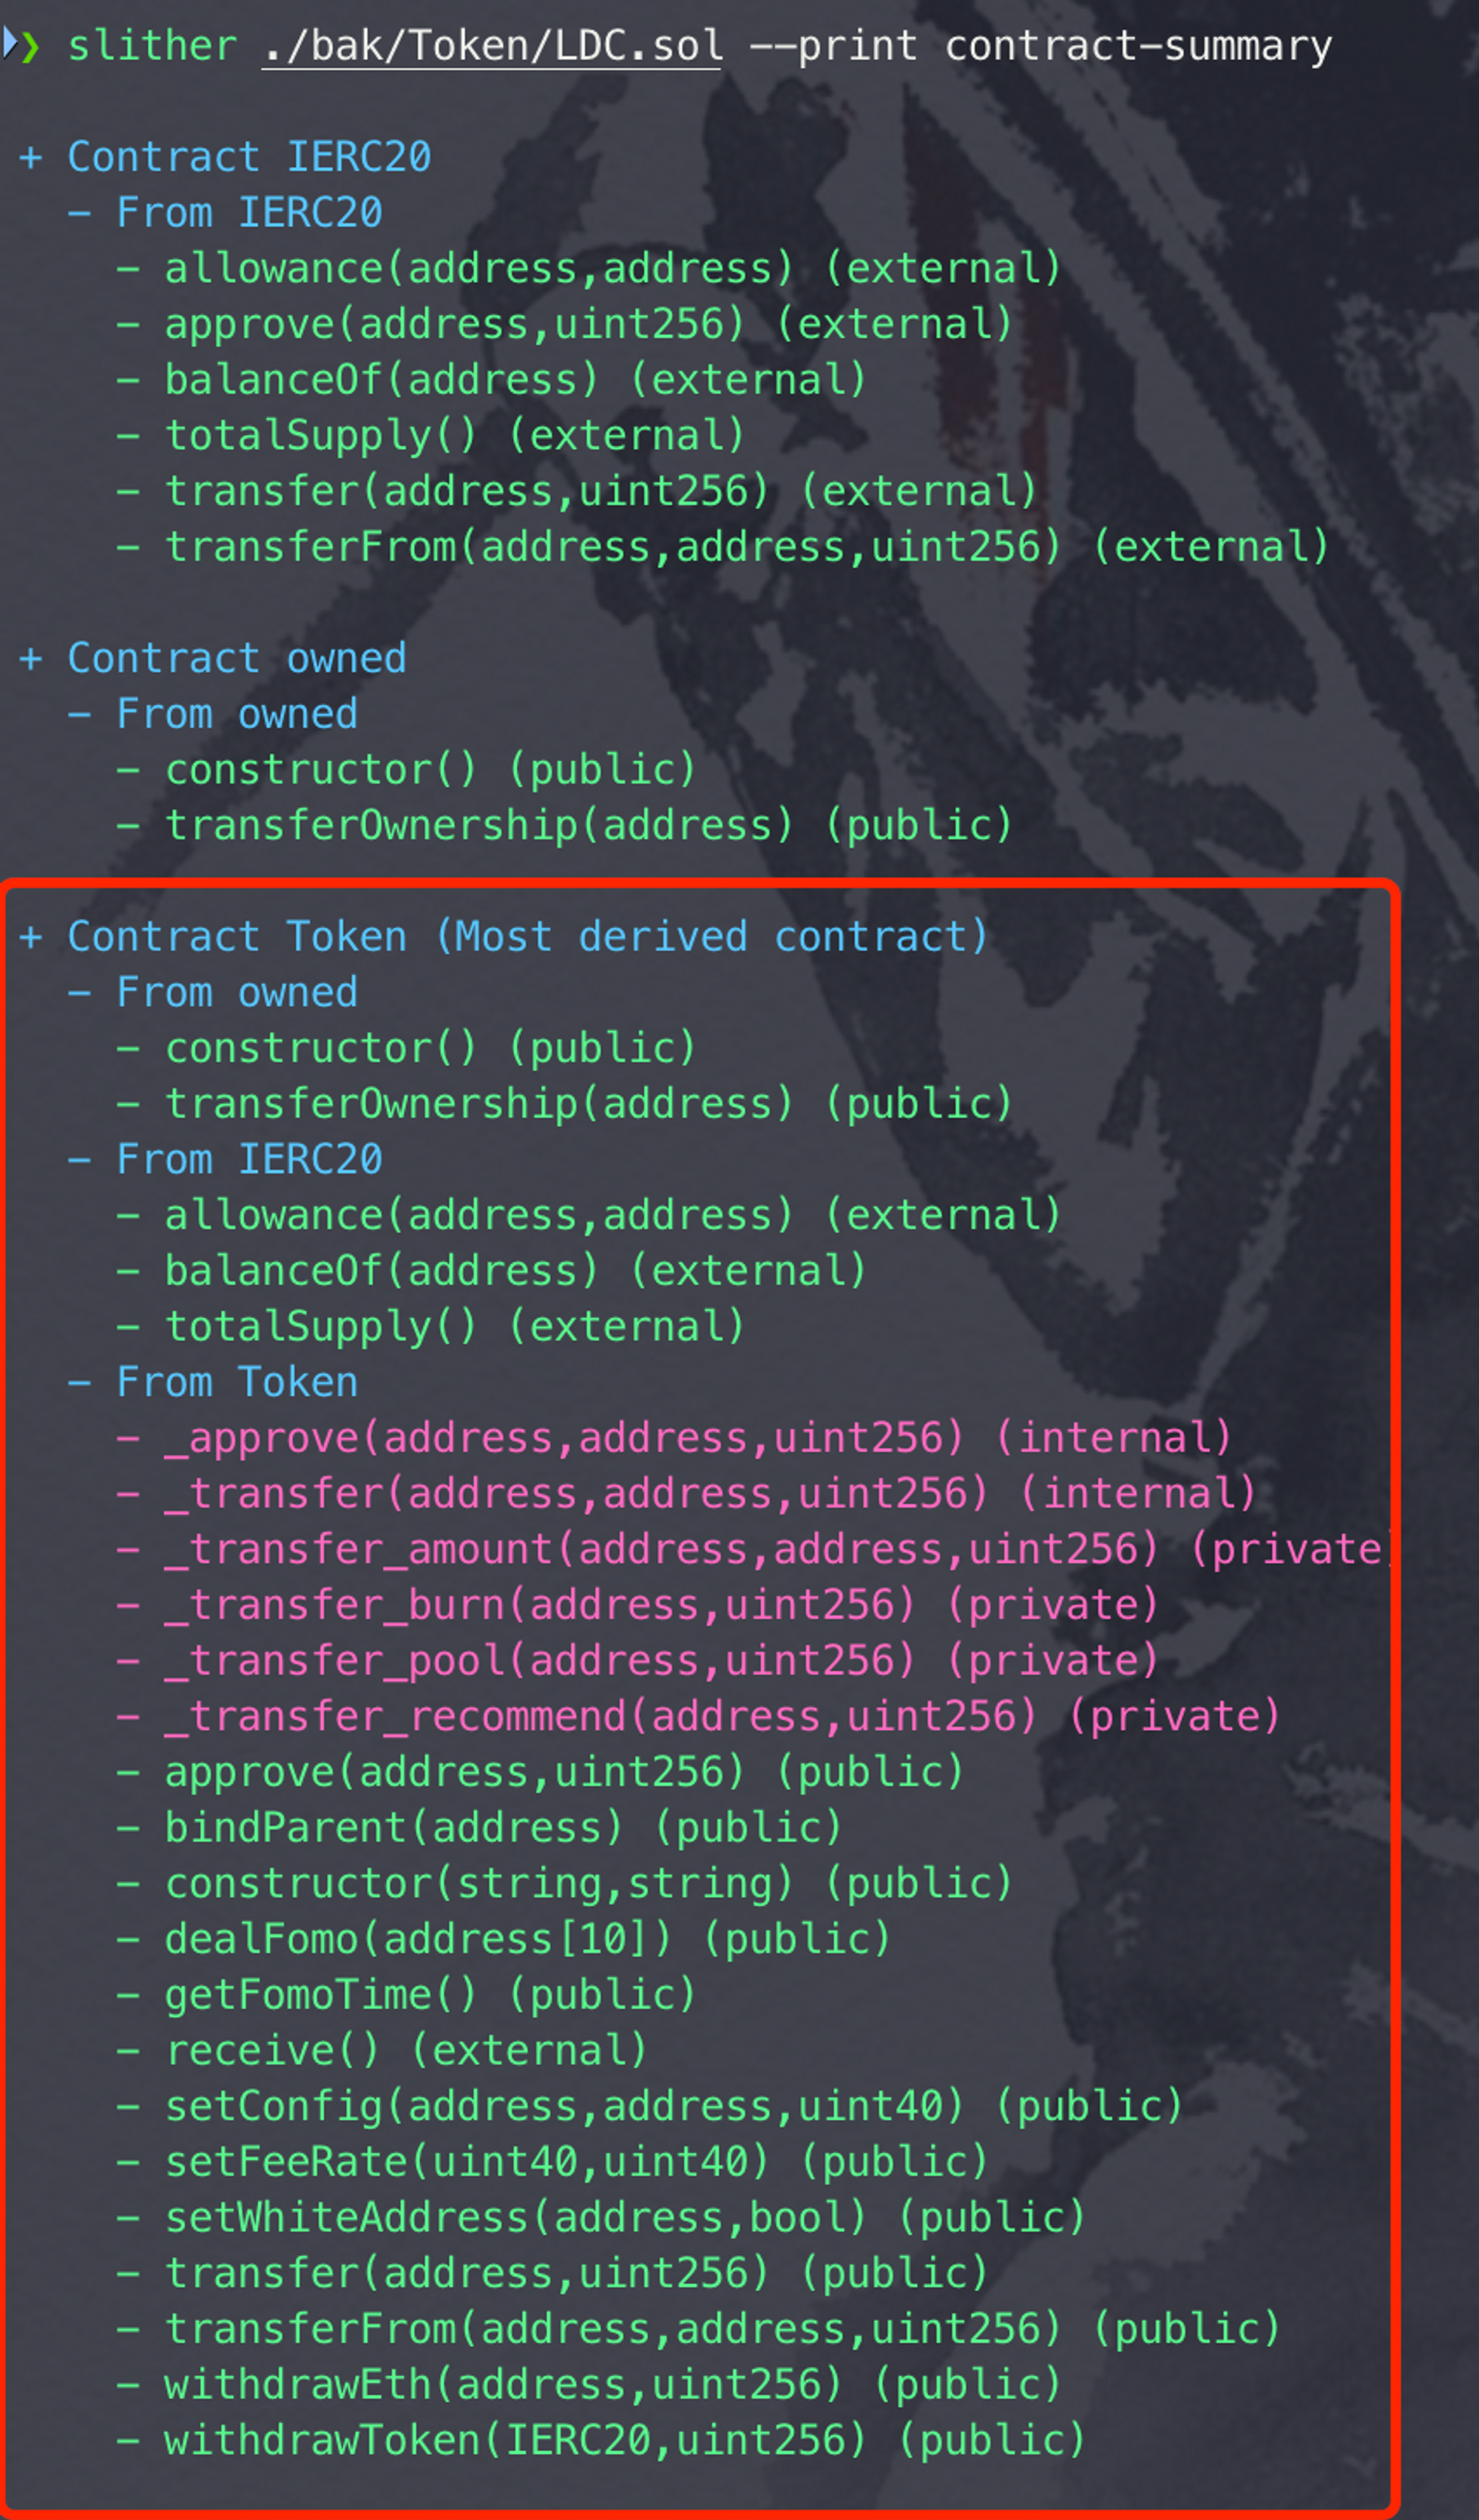
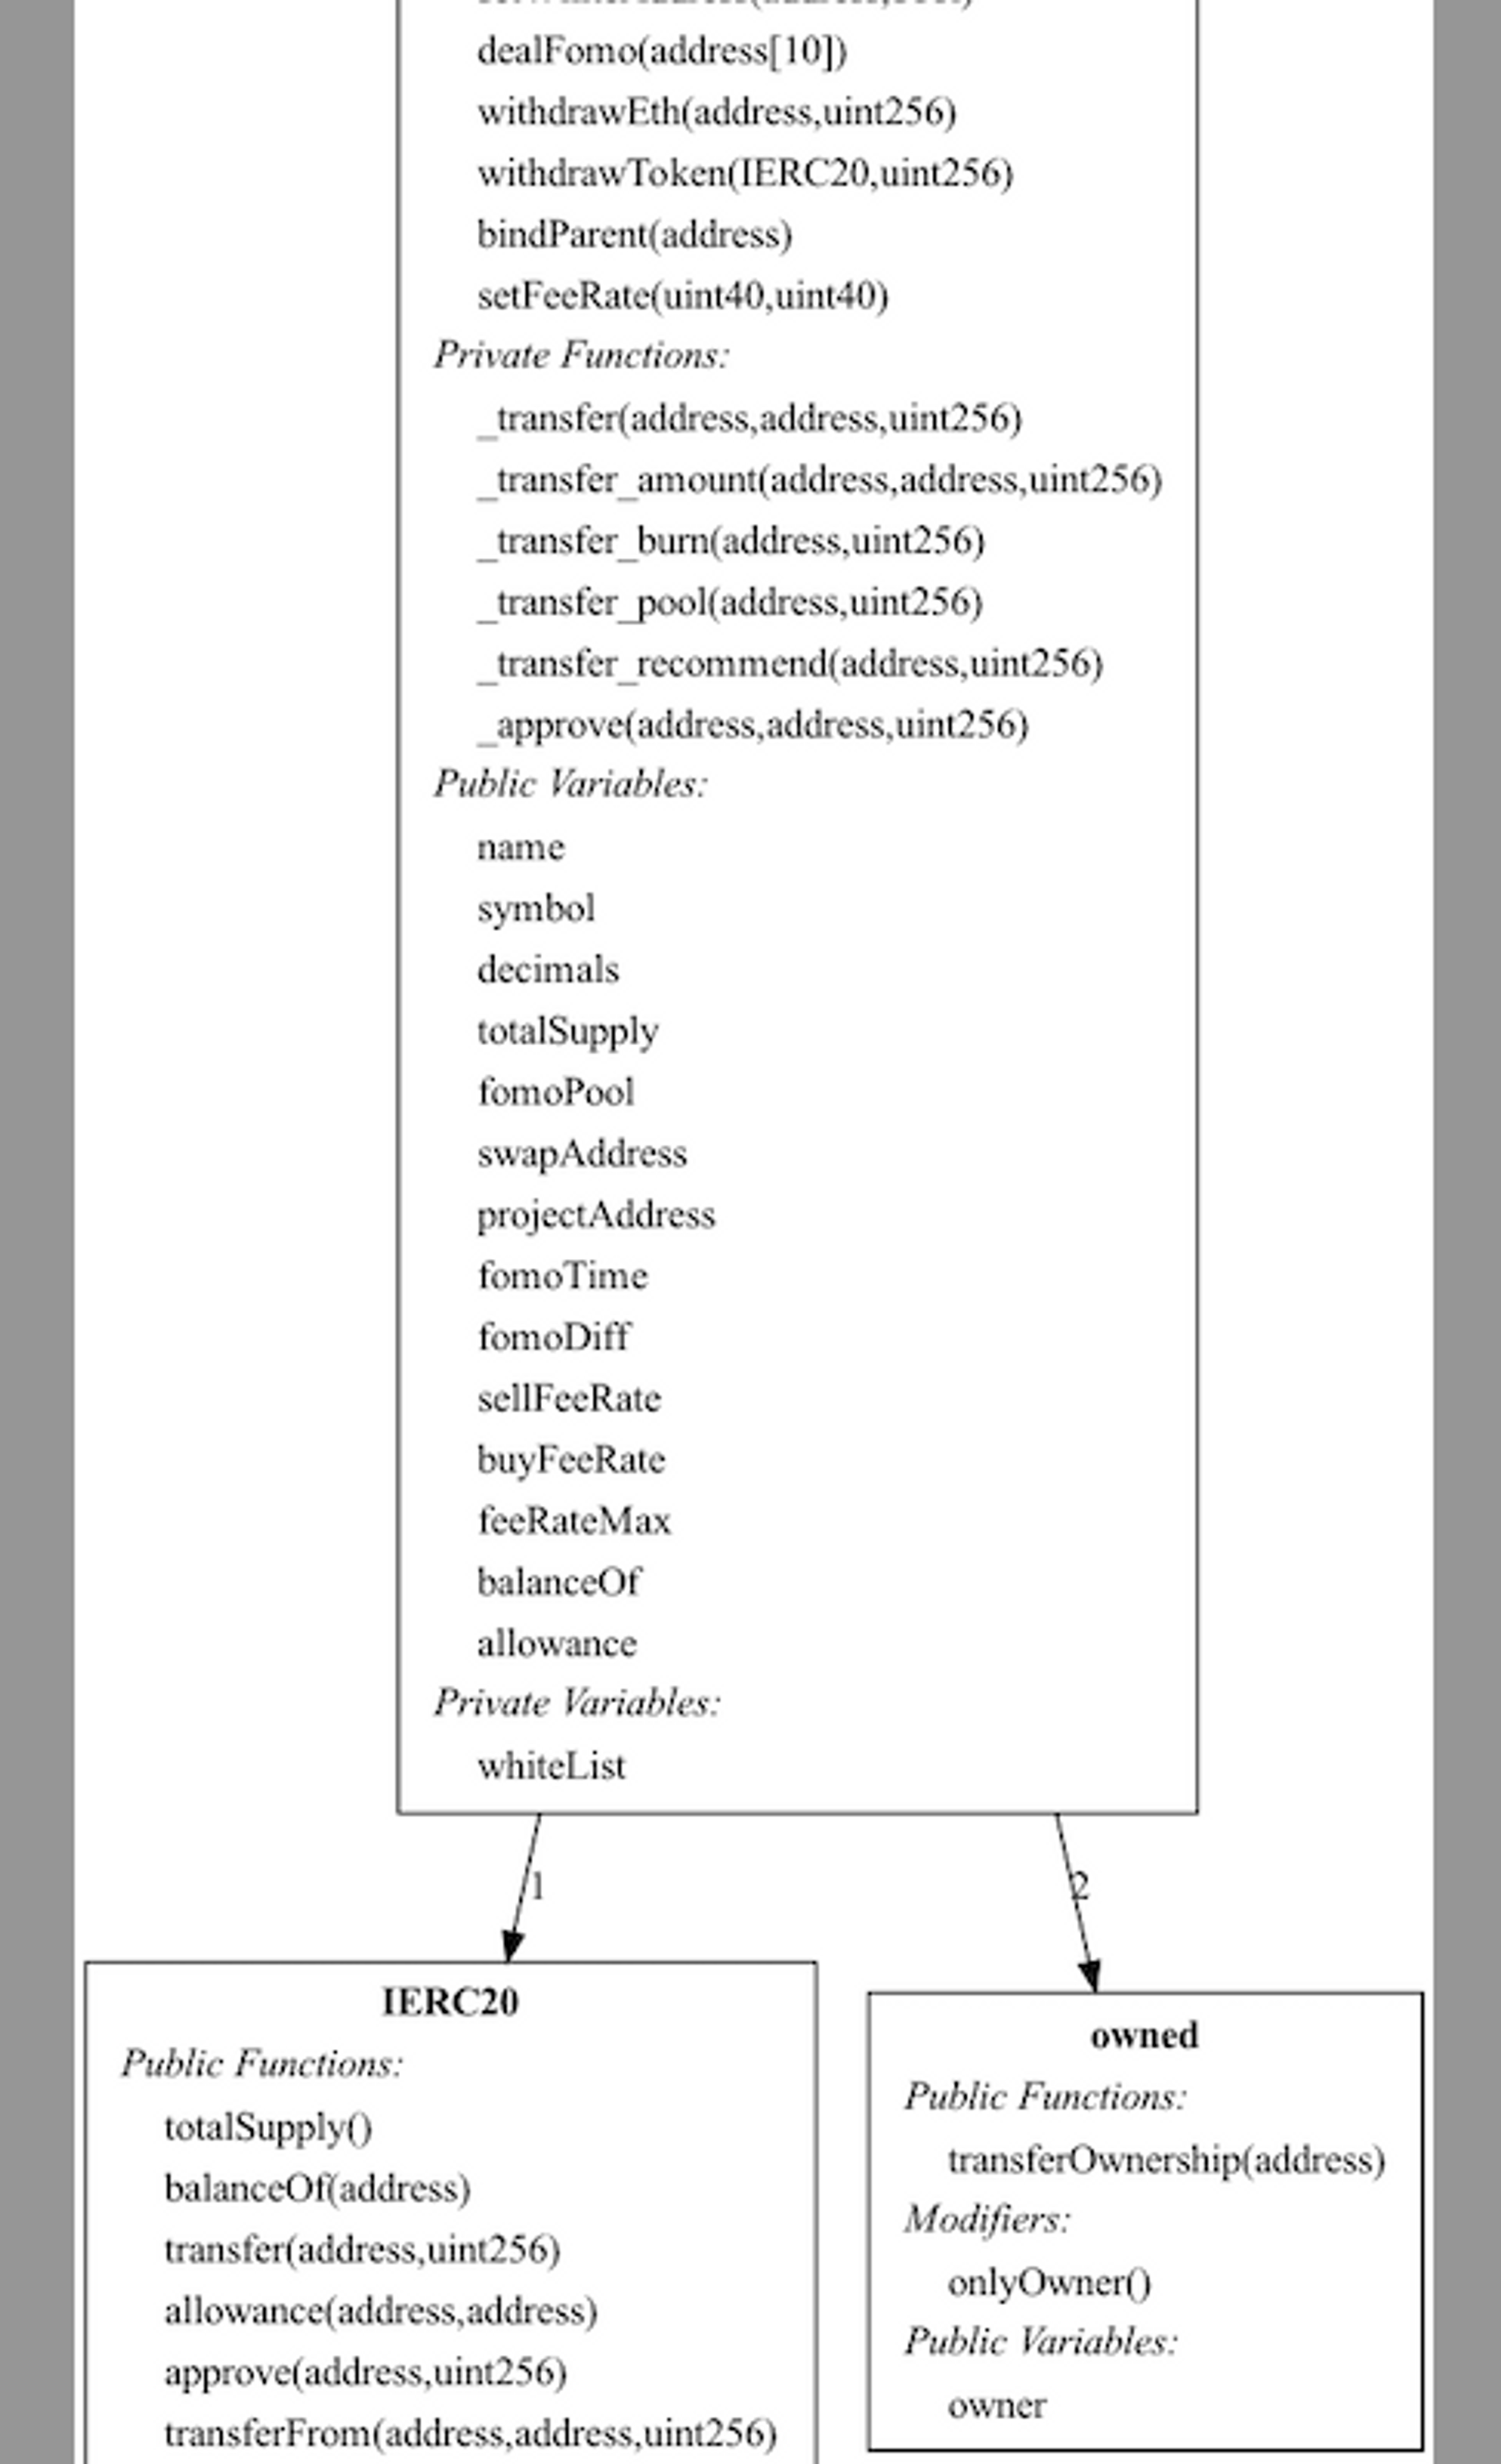
合约摘要 contract-summary
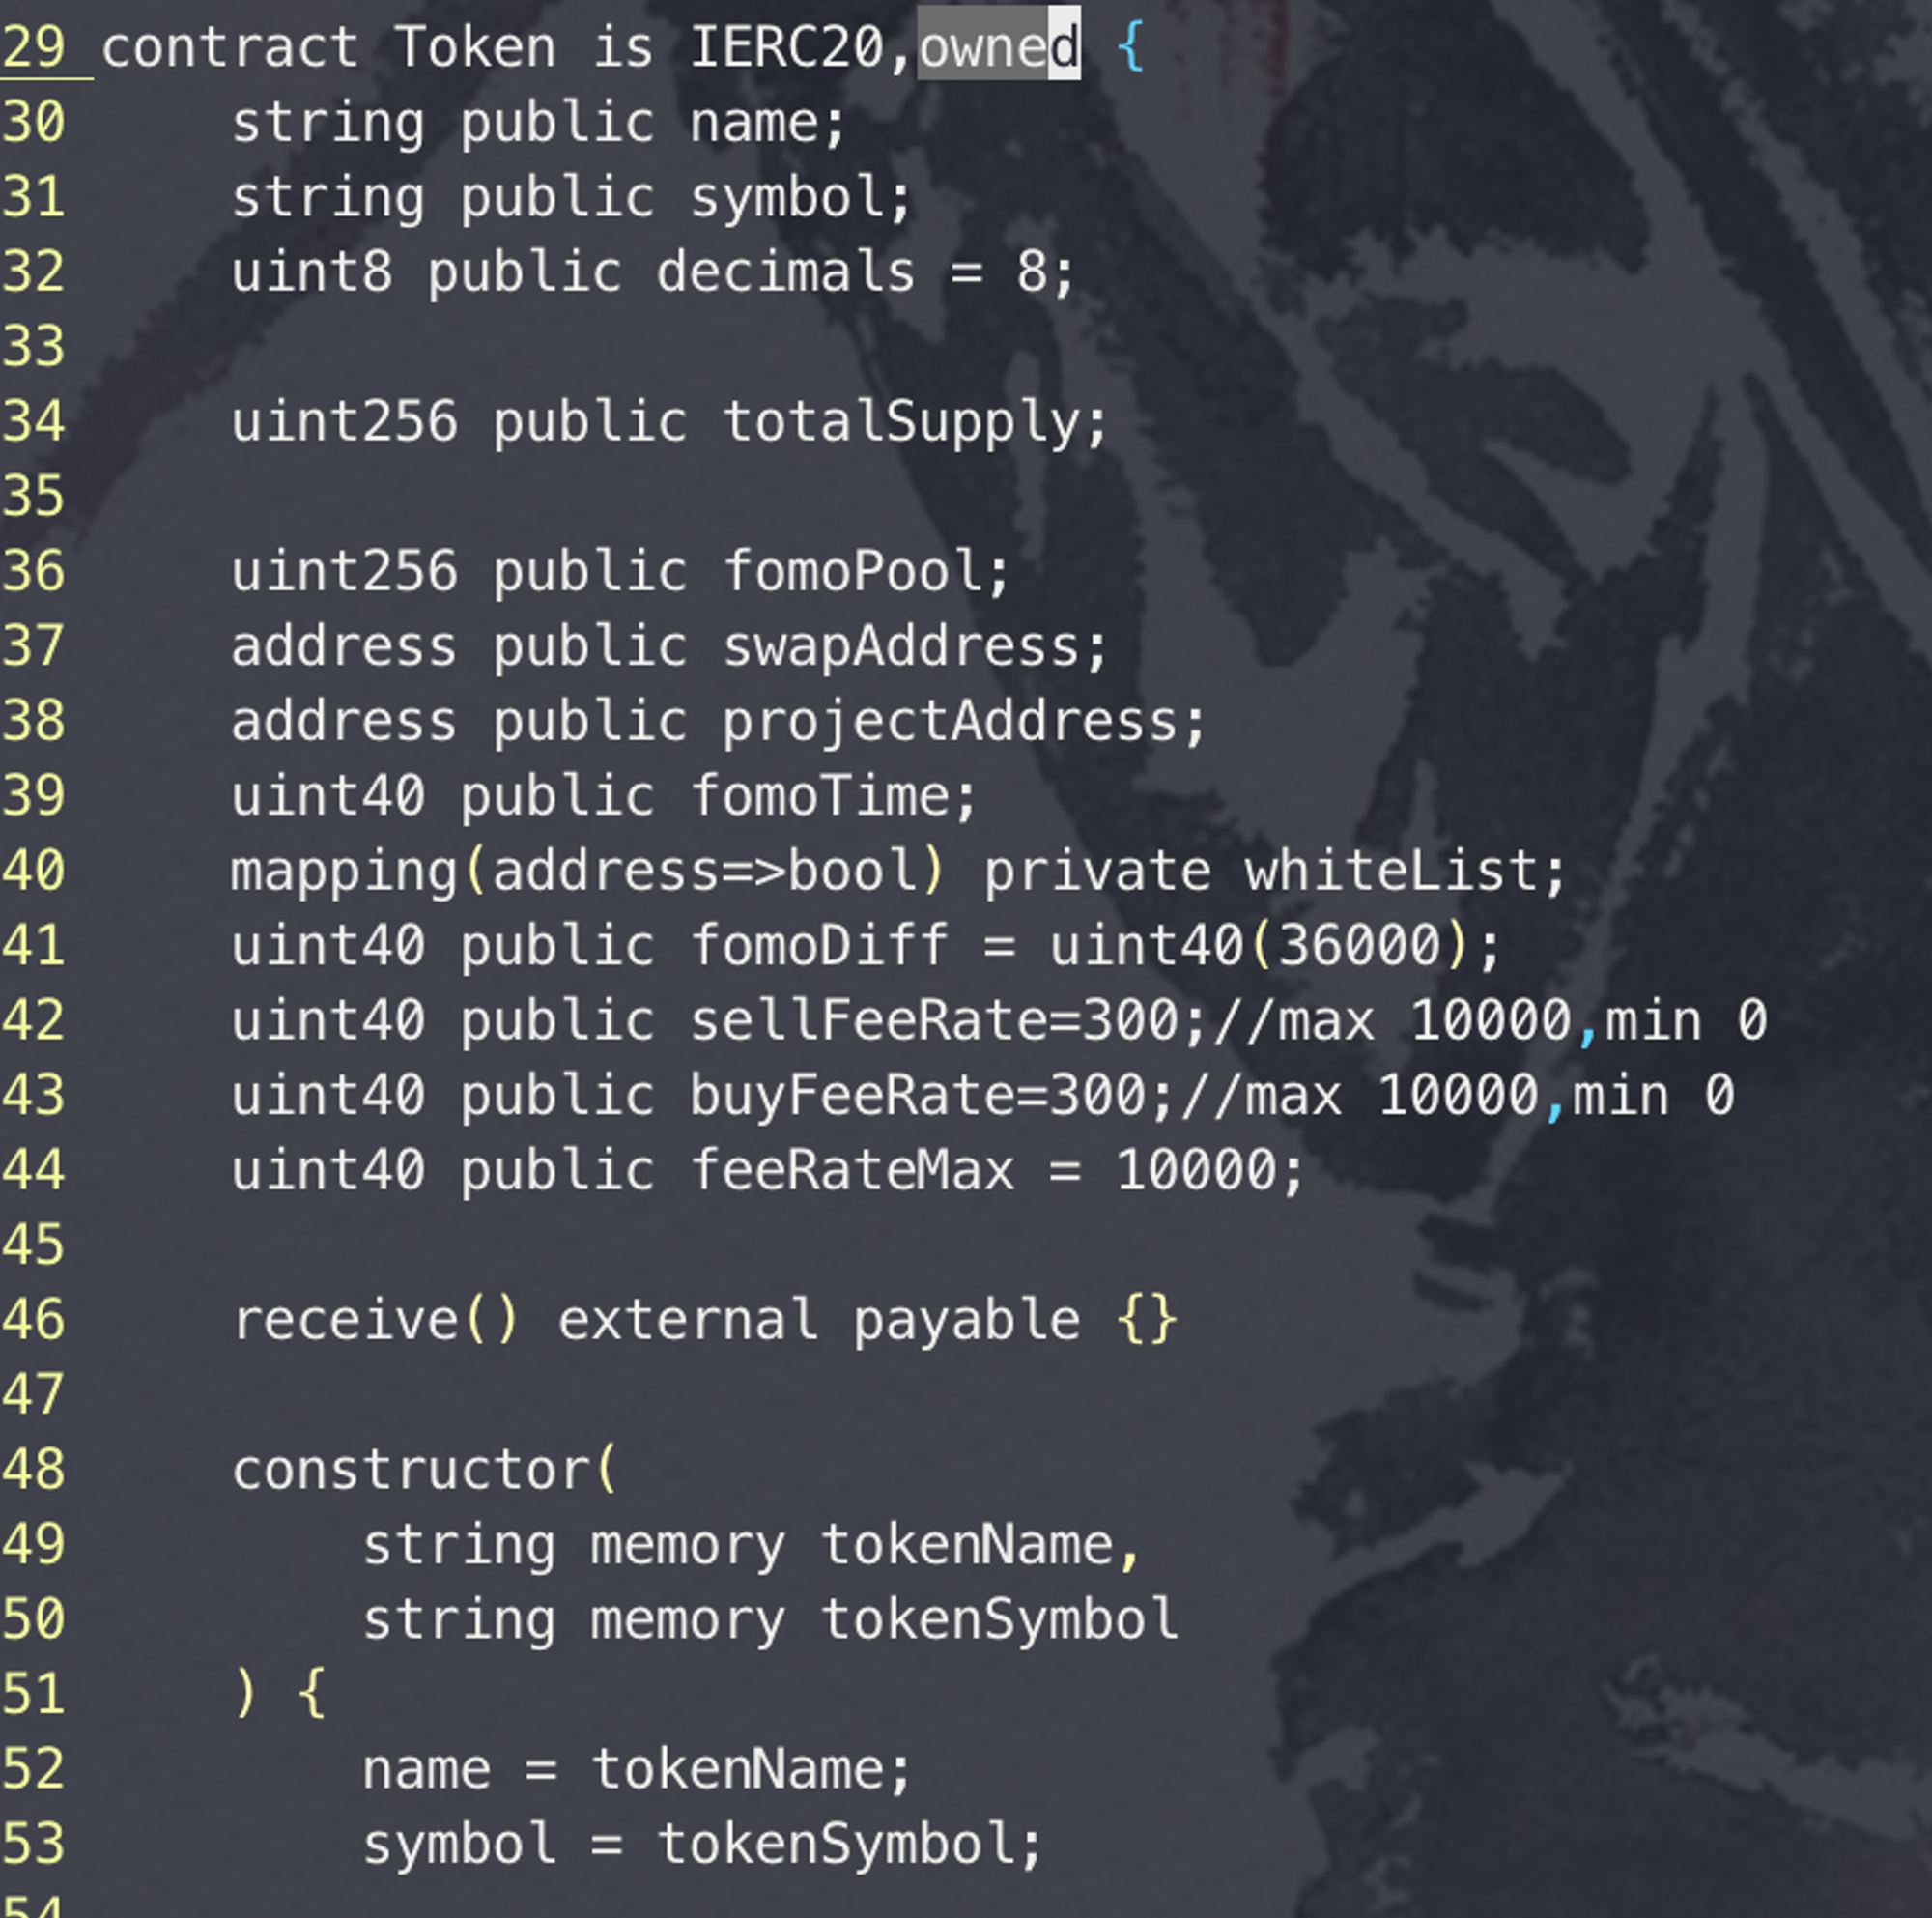
这个参数可以打印合约中基本信息,包含合约的函数列表,继承关系等。
测试命令
slither ./bak/Token/LDC.sol --print contract-summary结果展示
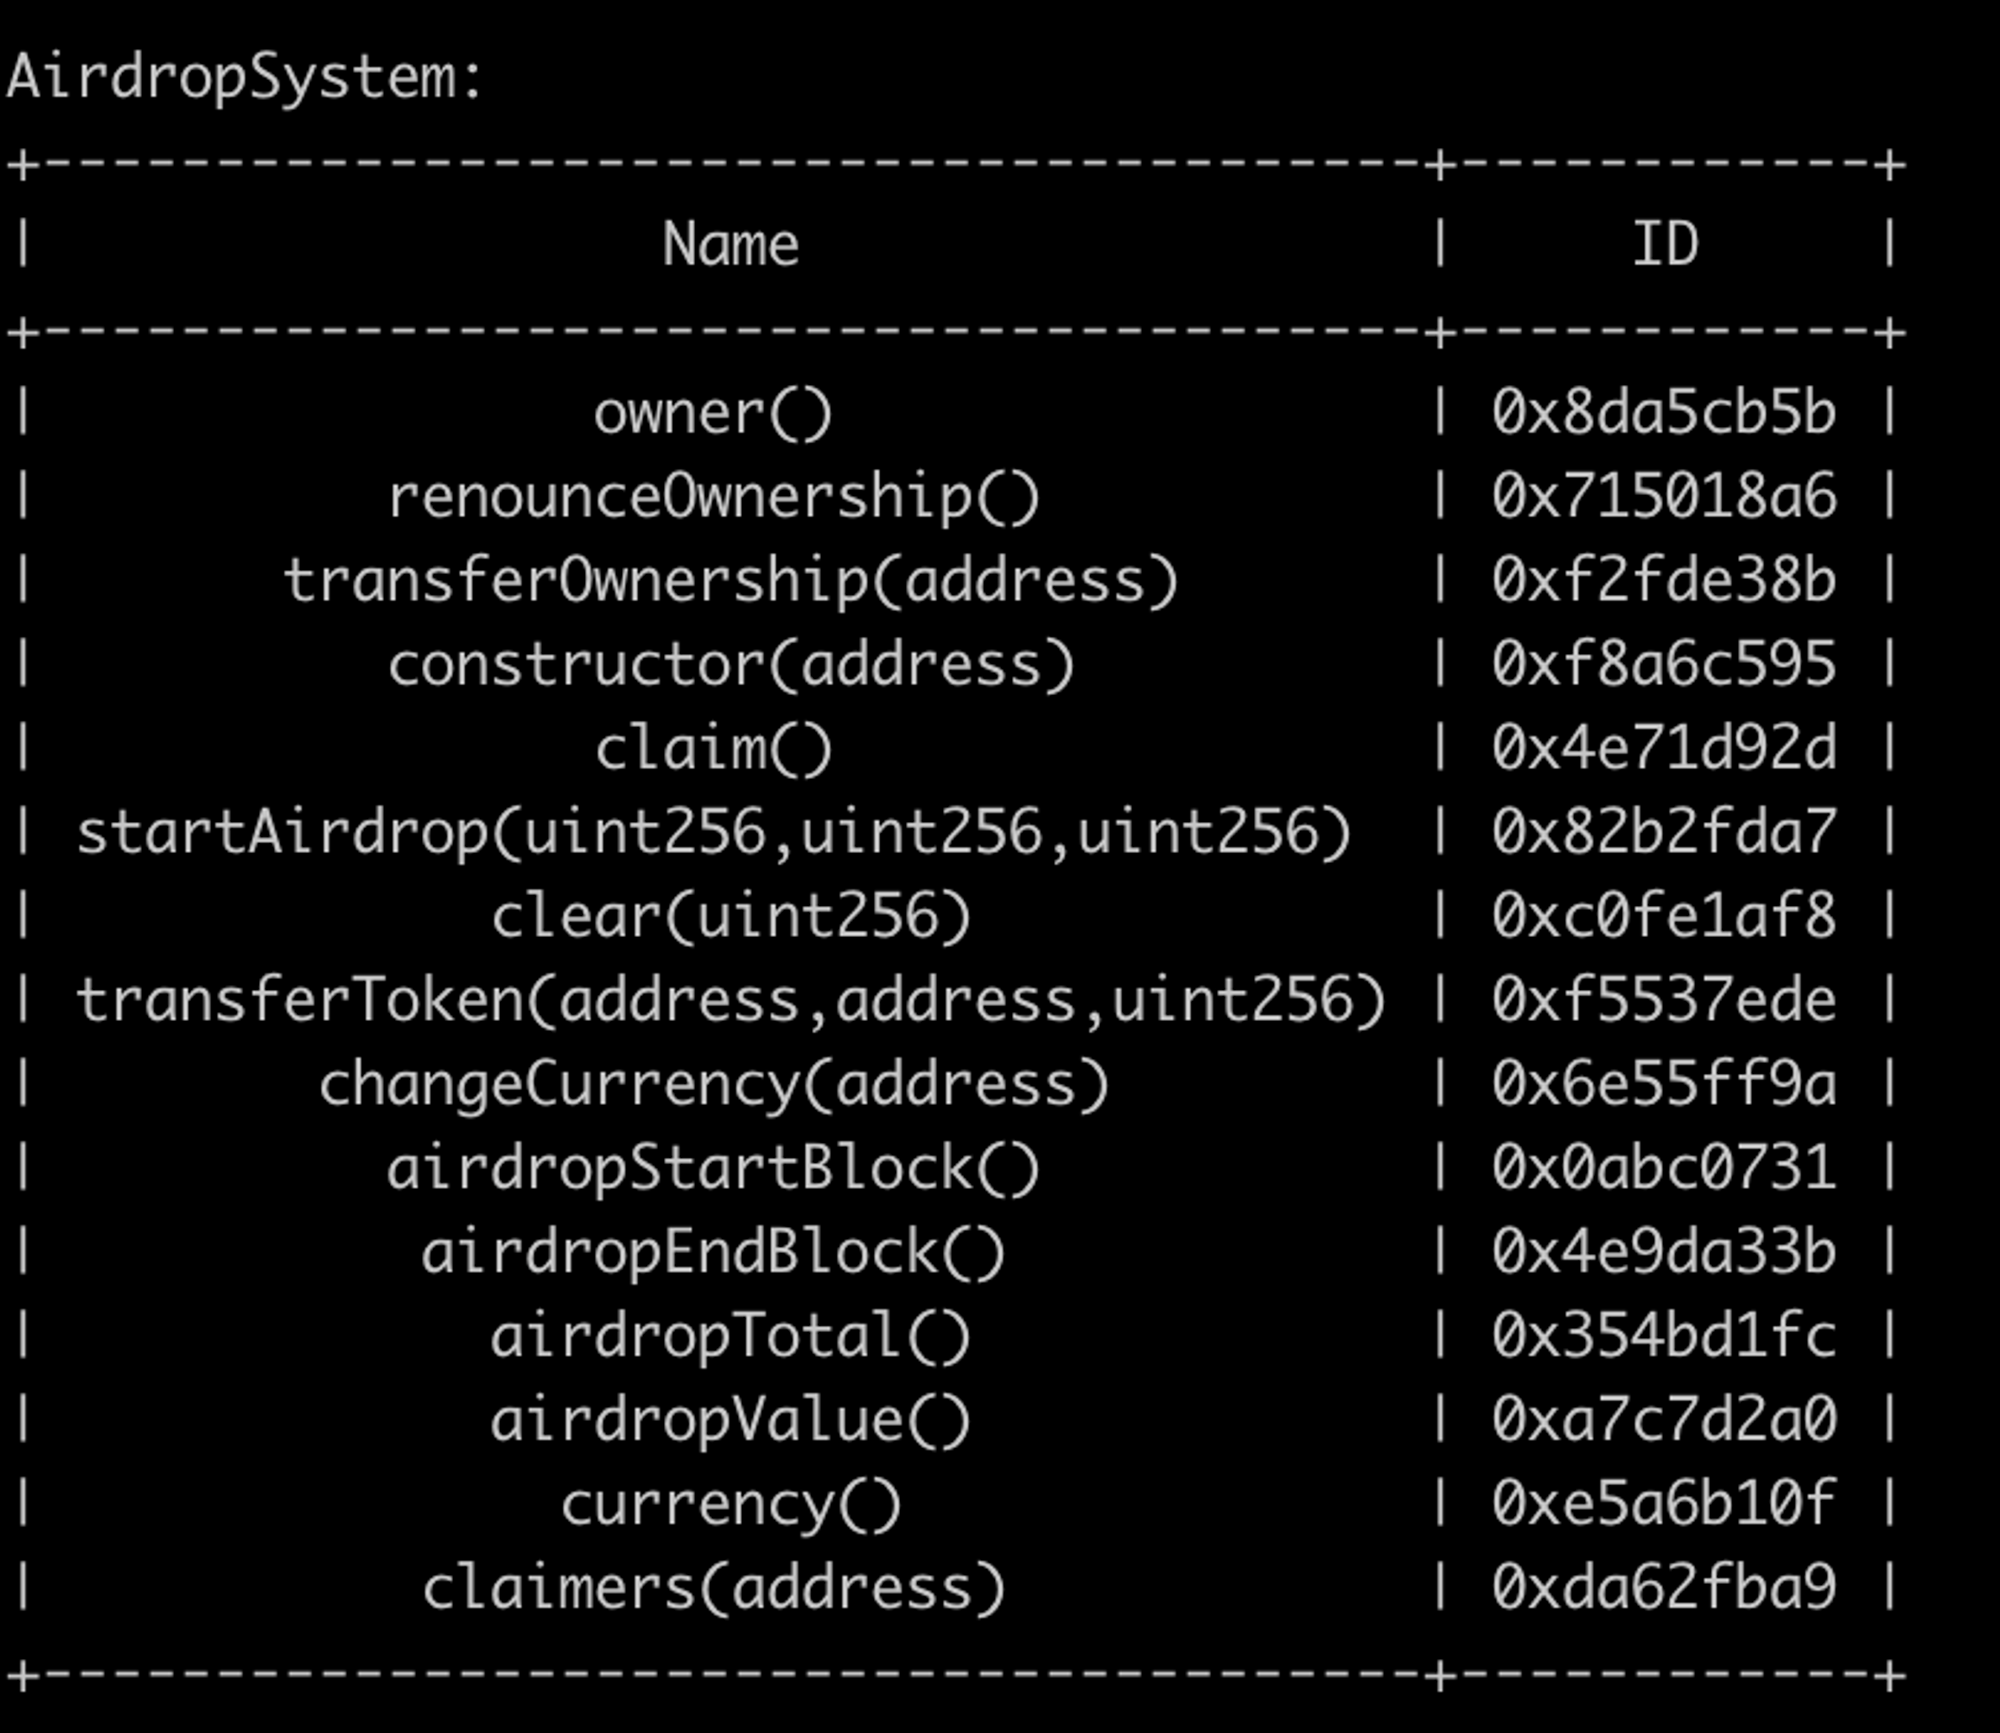
查看函数总览
打印出函数的总览,包括函数名,函数中读变量和写变量,函数内部调用的方法名,调用外部调用的方法名
slither AirdropSystem.sol --print function-summary

继承图 inheritance-graph
在当前目录下生成继承关系图。
slither ./bak/Token/LDC.sol --print inheritance-graph
Inheritance Graph: ./bak/Token/LDC.sol.inheritance-graph.dot
在mac下,dot格式文件可以通过xdot打开。
xdot安装方式
brew install graphviz
brew install xdot
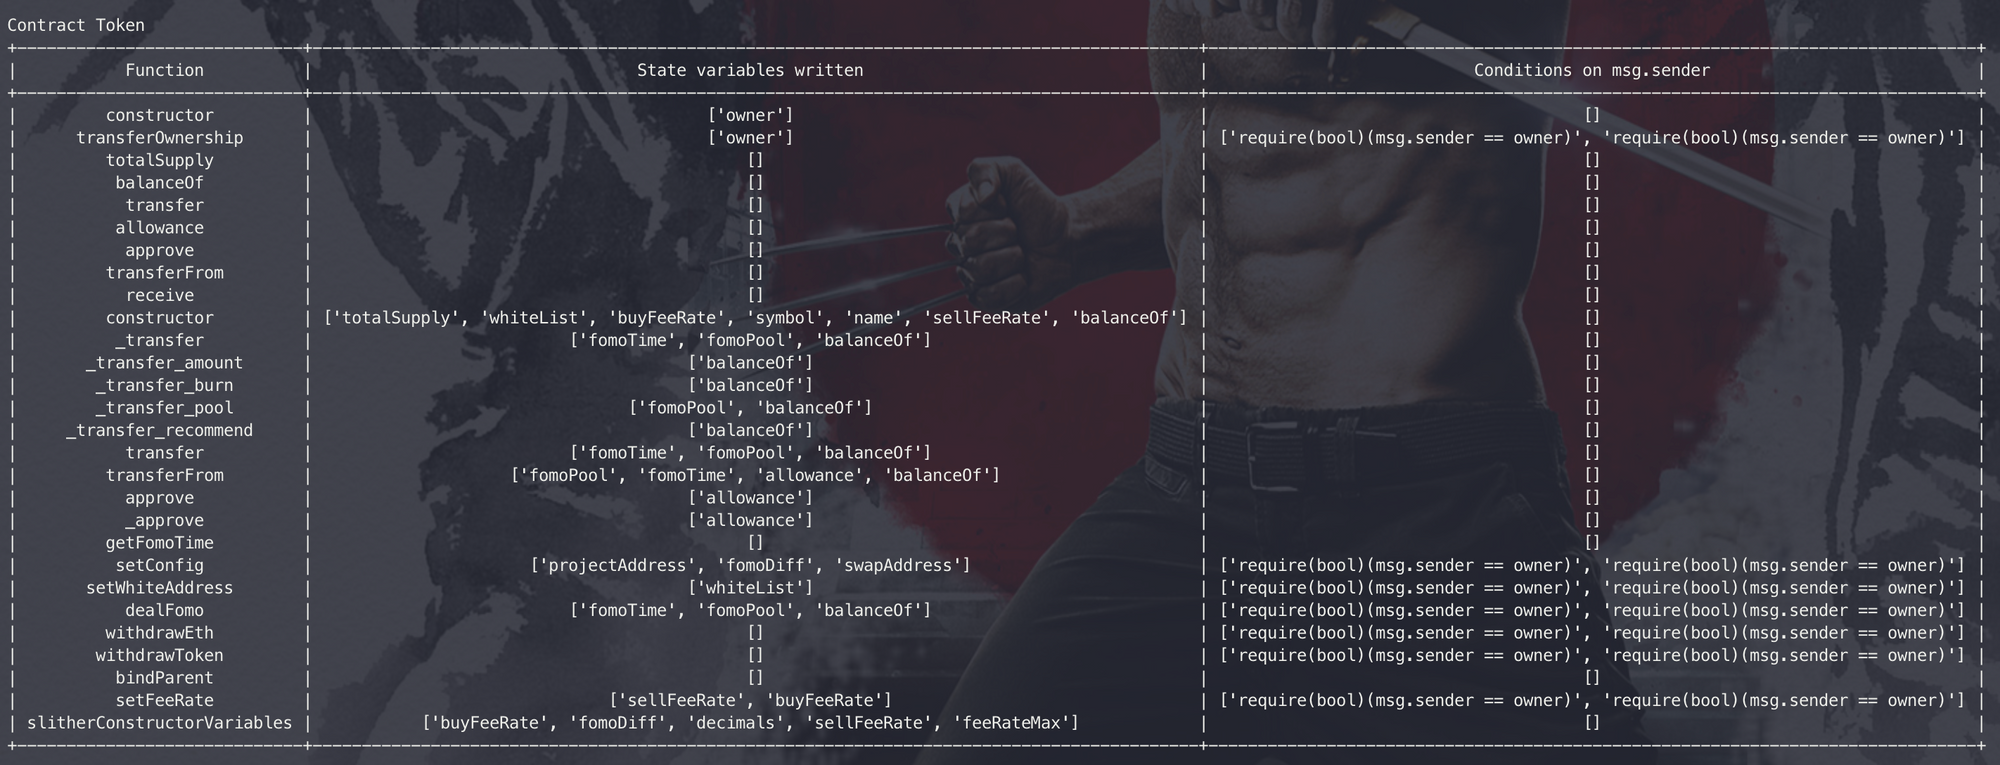
变量与验证 vars-and-auth
这个参数可以打印 合约中的每个函数修改过的合约状态变量,其每个函数中是否有对msg.sender的条件判断。
测试命令
slither ./bak/Token/LDC.sol --print vars-and-auth结果展示
查看调用关系图
slither AirdropSystem.sol --print call-graph 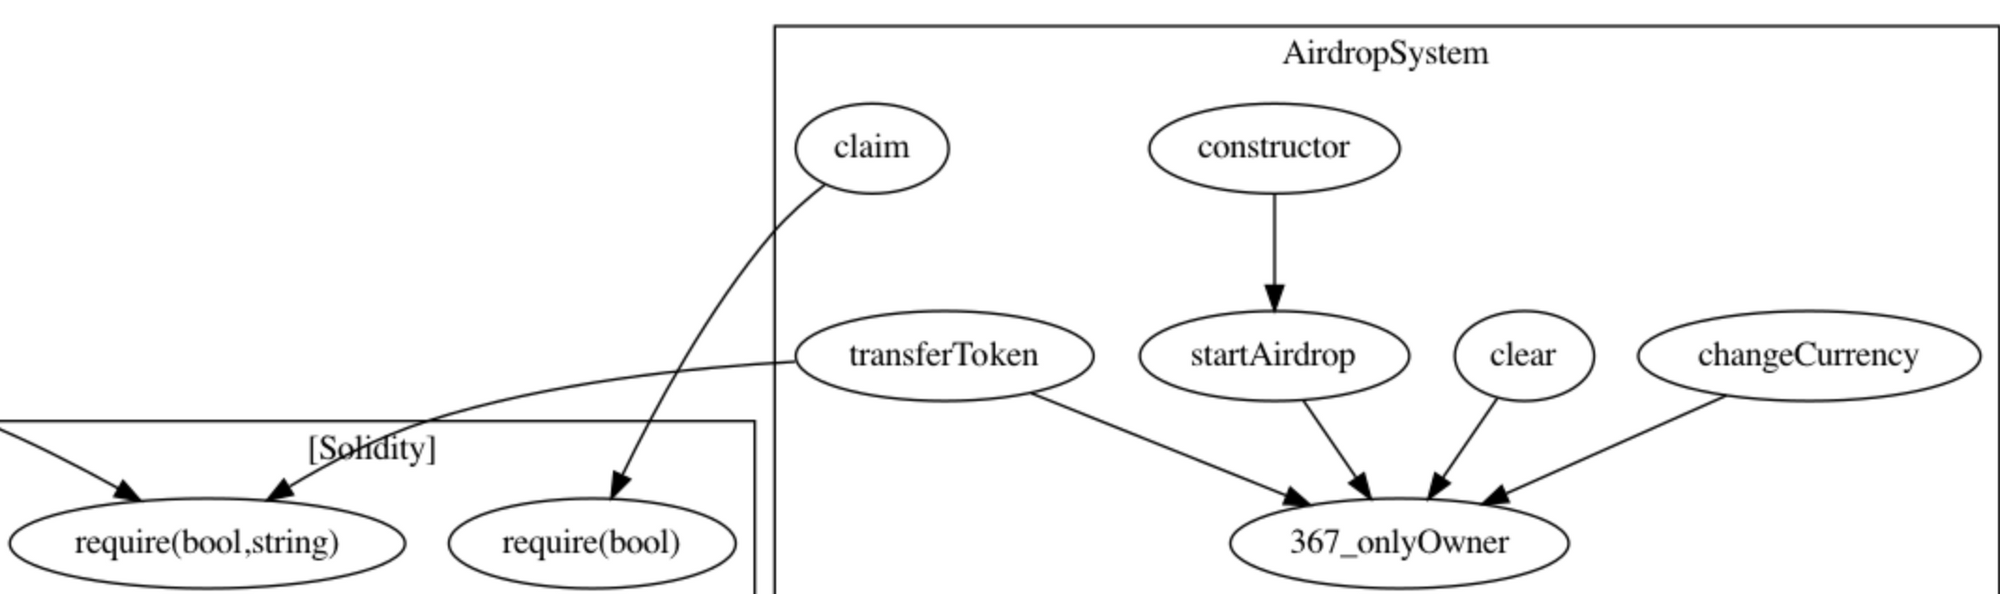
函数id function-id
slither AirdropSystem.sol --print function-id
状态变量存储 variable-order
该打印模块输出合约的状态变量的存储顺序
—print variable-order 用于打印出合约的状态变量的storage的序列。
slither ./bak/Token/LDC.sol --print variable-order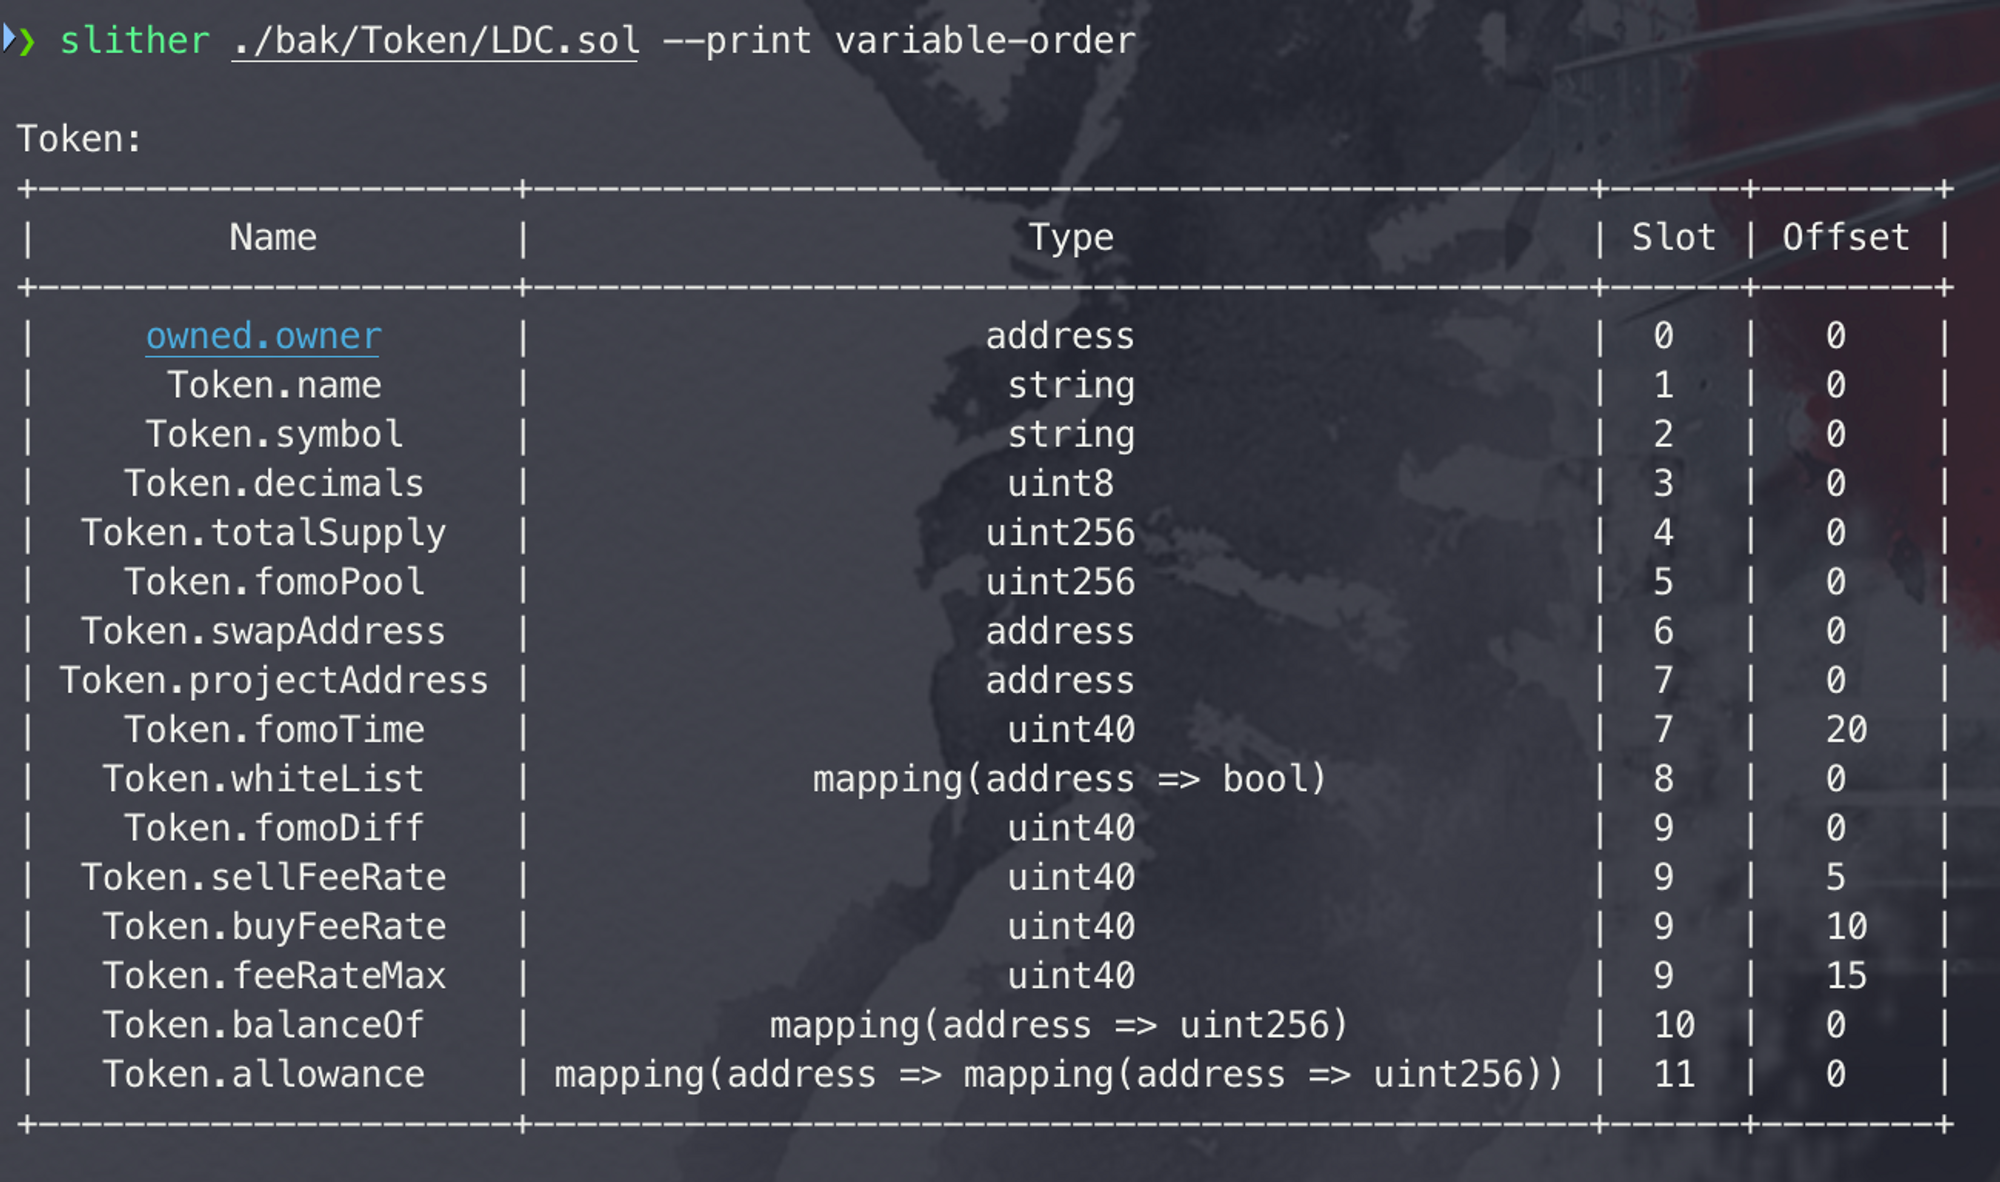 可以根据源代码分析其slot的存储情况
3. 自定义检测器
slither支持插件模式,可以自定义检测器扩充检测能力。
检测器的基本框架
检测器的基本框架
from slither.detectors.abstract_detector import AbstractDetector, DetectorClassification

class Skeleton(AbstractDetector):
    """
    Documentation
    """

    ARGUMENT = 'mydetector' # slither will launch the detector with slither.py --detect mydetector
    HELP = 'Help printed by slither'
    IMPACT = DetectorClassification.HIGH
    CONFIDENCE = DetectorClassification.HIGH

    WIKI = ''

    WIKI_TITLE = ''
    WIKI_DESCRIPTION = ''
    WIKI_EXPLOIT_SCENARIO = ''
    WIKI_RECOMMENDATION = ''

    def _detect(self):
        info = ['This is an example']
        res = self.generate_result(info)

        return [res]
参数解释:
ARGUMENT设置检测器调用的参数。设置后,可以在命令行中通过传入该值达到调用该检测器的功能。IMPACT: 该检测器的影响等级。DetectorClassification.OPTIMIZATION: printed in greenDetectorClassification.INFORMATIONAL: printed in greenDetectorClassification.LOW: printed in greenDetectorClassification.MEDIUM: printed in yellowDetectorClassification.HIGH: printed in red
- CONFIDENCE:检测器的准确性指标。取下面的3个值
DetectorClassification.LOWDetectorClassification.MEDIUMDetectorClassification.HIGH
WIKI:用来自动生成文档的常量
_detect() 需要返回列表类型,表示检测结果。检测结果是使用 self.generate_result(info) 生成的元素,其中 info 是文本列表或合约对象(合约、函数、节点...)
将检测器集成到slither中
有两种集成方式
- 把自定义的检测器加入到 slither/detectors/all_detectors.py
- 创建一个插件包。可以参考 skeleton example
4.参考
https://docs.soliditylang.org/en/v0.4.21/installing-solidity.html#binary-packages
官方使用说明
https://github.com/crytic/slither/wiki/
solc-select官方github
https://github.com/crytic/solc-select/
版权声明
本文仅代表作者观点,不代表区块链技术网立场。
本文系作者授权本站发表,未经许可,不得转载。


作者文章
- 编码代理如何重塑工程、产品和设计 3个月前 (03-20)
- 一张图看懂Web3稳定币格局 3个月前 (03-20)
- nonReentrant 挡不住的重入:两种你可能忽略的场景 3个月前 (03-20)
- 零知识API使用信用:大型语言模型及其他应用 3个月前 (03-20)
- Snap v2:以 BALs 取代 Trie 愈合 — 执行层研究 3个月前 (03-20)
发表评论:
◎欢迎参与讨论,请在这里发表您的看法、交流您的观点。